

Adventures Installing Python And Django Directly From Source Code!

Introduction
This article presents background information plus a quick and easy to follow recipe for installing, directly from Github source code repositories, the Python programming language and the Django web framework. The operating system used here is Fedora Rawhide. Also included is a note about using the install steps presented here on Debian 12.
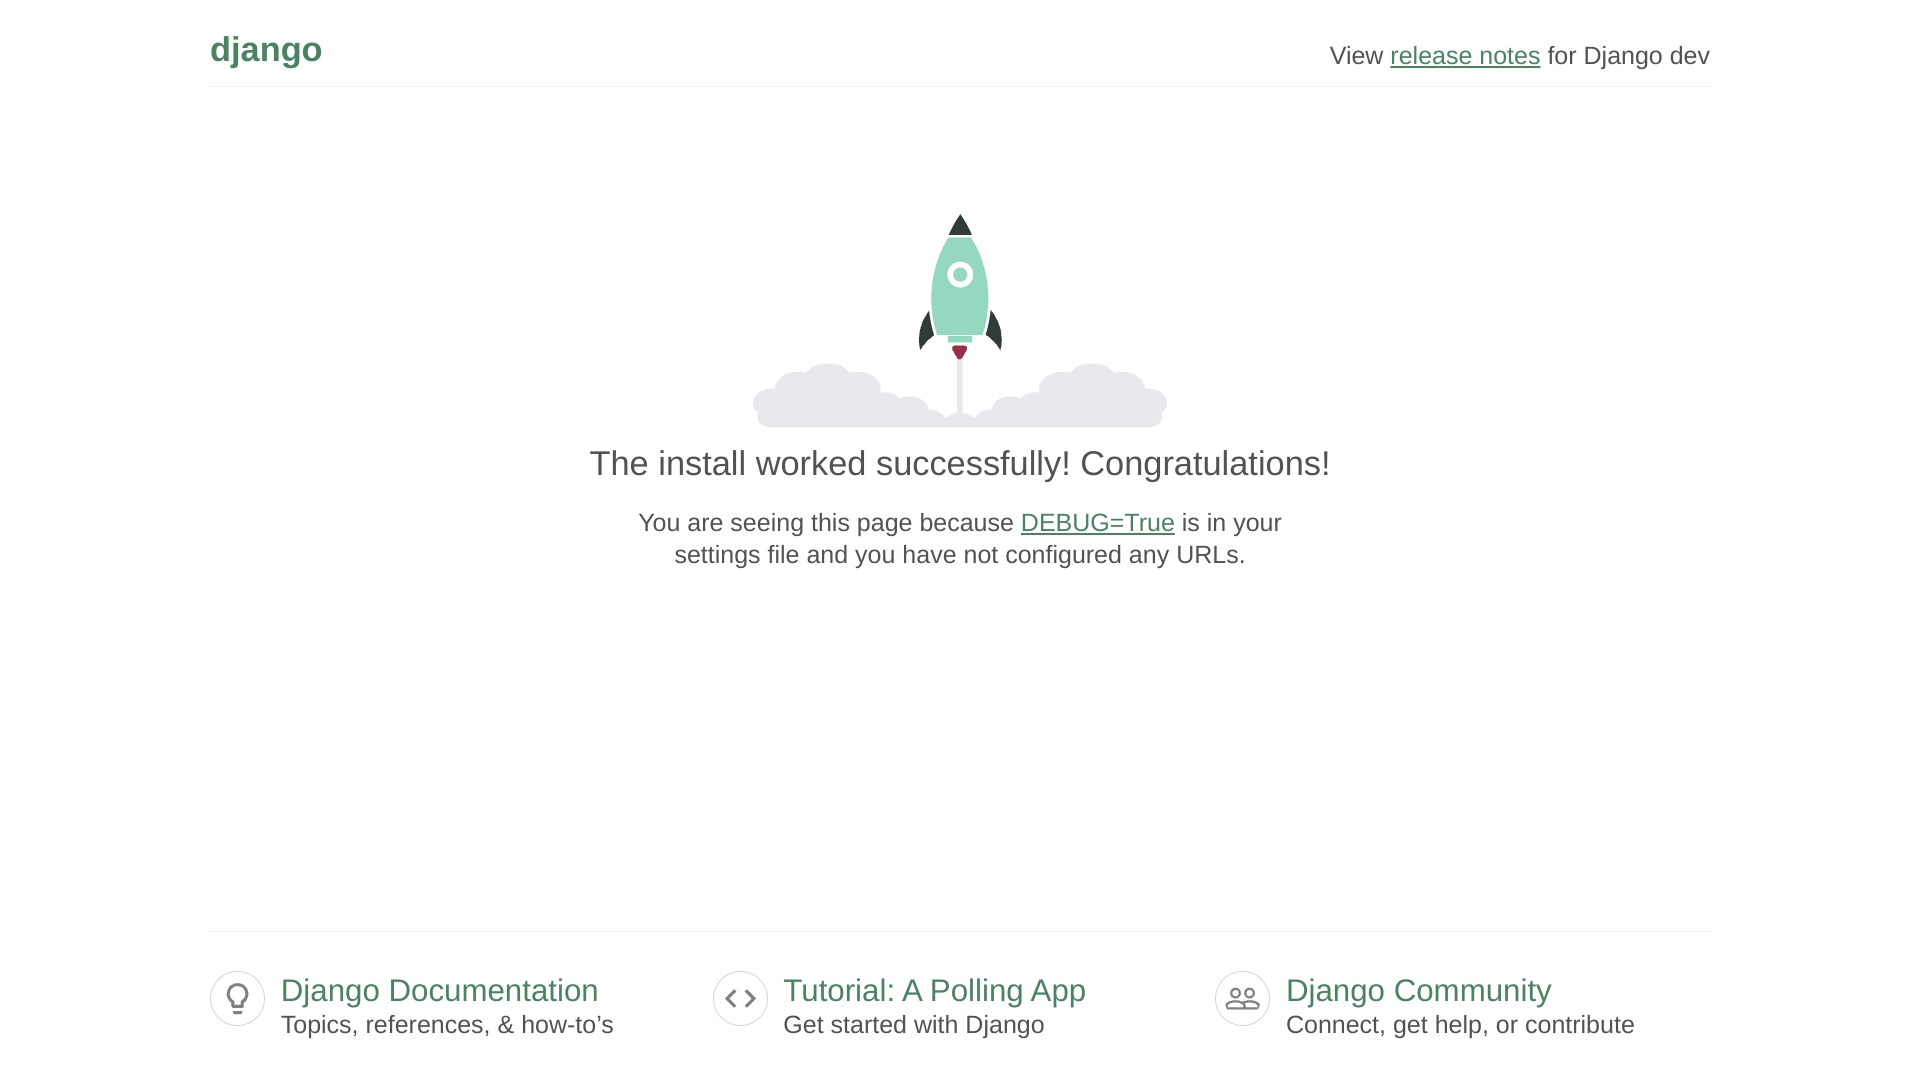
As shown by the above screenshot, the quick, easy to follow, source-based Django install recipe given here actually works on Fedora Rawhide. Of course, the "without optimization" approach taken here is not intended for production. Instead, what we have here is a very fun introduction to building Python and Django from source code.
What Is Django?
Django is a web framework written in Python. The Django Project's landing page describes Django as "a high-level Python web framework that encourages rapid development and clean, pragmatic design."
Why Is Django Interesting?
A while back, I watched one of the CS50 lecture videos about Django. The CS50 video shows how simple and fast the Django web development process looks and how much Django must do in the background (for example, handling both database and web server functions). Web development using Django code seems cool -- very few lines of Django code are required to make dynamic web pages work!
Django Install Methods
At first sight, especially for someone coming without a Python background, installing Django seems really complicated! The Django Project's Quick install guide describes:
- installing Python,
- Optionally setting up a database,
- Three Django install methods
- from an official Django release (recommended),
- from your operating system's distribution,
- from the latest development code, and
- Verifying the install.
The Quick install guide states that the first of the three install methods, installing from an official Django release, is "the best approach for most users."
However, for each of the three install methods, including for the recommended install method, the Django Quick install guide sends its readers to different sections of a significantly more detailed How to install Django page.
The more detailed How to install Django page explains that the recommended install from an official Django release involves both pip, the Package Installer for Python, and venv, the Python Virtual Environment Module.
Of course, for a Django install, Python itself, along with pip and venv might need to be installed if all three of these are not already present.
People use Django with a database. The database frequently is SQLite or PostgreSQL. Precompiled SQLite is installed during the preliminary Fedora development tools install discussed below. Although there is an official Github SQLite source mirror, SQLite uses fossil for source code management. Fossil seems so interesting and fun that it would make a great subject for another article. Thus, and even though PostgreSQL also is enticing, for the time being, on Fedora Rawhide, we can proceed with the distribution-installed SQLite.
Besides a database, Django also needs a web server. The official Django How to install tutorial recommends Apache web server with mod_wsgi. The web server install also might be another great subject for yet another LES Talk article. Meanwhile, as shown below, we can use Django's built-in Python web server. It is the built-in Python web server which served the page of which the above screenshot was taken.
Reading the Django Quick install guide was super helpful for important context, and reading the more detailed Django How to install guide was even more helpful for learning additional install details. But, the crux is, even after reading both guides, no specific install recipe was provided. Instead, readers of these well meant and helpful guides are in the end left facing a complex puzzle about how to choose among various install methods and sub-methods. Ironically, each of the install methods very kindly is intended to make installing Django easy!
Simplifying The Django Install
Having tried all three of the install methods listed in the official Django Quick install guide, and having tried several variations mentioned in the more detailed, official Django How to install guide, I wondered whether the Django install somehow could be easier. I wanted a quick Django install recipe!
Many source repositories have easy to find, basic configuration and compilation instructions. For example, Python's simple, standard build instructions are here. Often the simple, standard, "configure, make, make test, make install" series just works. Trying a source-based install seemed faster and easier, closer to upstream, and more fun than figuring out a specific install recipe based on one among the multiple, non-source-based install methods discussed in the official guides.
Source-based installs require a compiler and other development tools. In an ideal world, both the compiler and the development tools also themselves would be compiled from source by the end user. However, as shown here below, the Fedora distribution's package system can be used to quickly and easily install a compiler and other development tools.
Therefore, because of the simplicity of the standard build instructions and the ease of installing a compiler, I attempted, on Fedora Rawhide, a quick, source-based Django install. It seemed a good idea also to compile Python from C and to add pip and venv from their current development Python sources. That way, we get Django's friends built from their current sources to accompany our current, source-built Django. Of course, Fedora Rawhide runs on current Linux development kernels, so Rawhide might be an especially fun and good fit for current, source-built userland programs.
Clone, compile, test, and install times mentioned below are from an Intel E3-1275 v5 with 64 GB DDR4 ECC RAM and 2 x 512 GB NVMe disks rented from Hetzner for €26.70 per month (approximately US$28.34). Newer and faster processors with faster memory and faster disks will have shorter times.
Quick Source-Based Django Install Recipe
Part I: Install Development Tools On Fedora Rawhide
[not_oles@radium ~]$ sudo dnf groupinstall --with-optional "C Development Tools and Libraries"
[not_oles@radium ~]$ sudo dnf groupinstall --with-optional "Development Tools"
[not_oles@radium ~]$ sudo dnf groupinstall --with-optional "Development Libraries"
That's all, only these three commands. Probably they could be combined into a long, one line command, but I wanted to pause long enough between commands to read the individual output of each.
These three commands do not install Django, but they do install, respectively, 250, 585, and 186 development related software packages. That's 1,021 packages! Most of the newly installed packages are unneeded for our present purpose, but it was quick and easy to install everything. The entire one thousand plus package install took only about 8 minutes!
At least some Python must have been present in Fedora prior to the development tools install because dnf, the Fedora install tool, is itself Python based. Therefore, we need a trick to separate dnf installed programs from our own source-built programs. The PATH environment variable can help keep the dnf and source-built programs separated.
Part II: Check PATH And Enable Revert
- PATH
We need to check that both our root and our user PATH environment variables are set for our shell to find our newly installed /usr/local/bin binaries ahead of previously installed package system binaries. Fedora's PATH was okay because /usr/local/bin comes ahead of /usr/bin. Our install won't put anything in /usr/local/sbin, but for additional local installs from source, it's good for usr/local/sbin to come ahead of /usr/sbin.
[root@radium ~]# echo $PATH
/root/.local/bin:/root/bin:/usr/lib64/ccache:/usr/local/sbin:/usr/local/bin:/usr/sbin:/usr/bin
[root@radium ~]#
[not_oles@radium ~]$ echo $PATH
/home/not_oles/.local/bin:/home/not_oles/bin:/usr/lib64/ccache:/usr/local/bin:/usr/bin:/usr/local/sbin:/usr/sbin
[not_oles@radium ~]$
- Revert
Let's set up the ability to revert. We're going to be installing into /usr/local. So, in case we want to revert, we can use tar to back up /usr/local as it is prior to our install.
If we have enough disk space, there's no need for compressing our tar archive. Compression can take significant extra time.
tar is an old program! Old enough not to need the "-" before the flags!
[not_oles@radium ~]$ cd /usr
[not_oles@radium usr]$ sudo tar cvf local-revert.tar local
Part III: Install Python From Source
[not_oles@radium ~]$ cd /usr/local/src
[not_oles@radium src]$ time sudo git clone https://github.com/python/cpython.git
[not_oles@radium src]$ sudo mkdir cpython-obj
[not_oles@radium src]$ cd cpython-obj/
[not_oles@radium cpython-obj]$ time sudo ../cpython/configure --prefix="/usr/local"
[not_oles@radium cpython-obj]$ time sudo make -j `nproc`
[not_oles@radium cpython-obj]$ time sudo make -j `nproc` test
[not_oles@radium cpython-obj]$ time sudo make -j `nproc` install
The above configure, make, make test, and make install procedure installs pip, as seen in the following snippet from the make install output.
Successfully installed pip-23.2.1
WARNING: Running pip as the 'root' user can result in broken permissions and conflicting behaviour
with the system package manager. It is recommended to use a virtual environment instead: https://pip.pypa.io/warnings/venv
The newly compiled and installed items are:
[not_oles@radium ~]$ ls -l /usr/local/bin
total 28408
lrwxrwxrwx. 1 root root        8 Oct 15 22:09 idle3 -> idle3.13
-rwxr-xr-x. 1 root root      100 Oct 15 22:08 idle3.13
-rwxr-xr-x. 1 root root      230 Oct 15 17:40 pip3
-rwxr-xr-x. 1 root root      230 Oct 15 17:40 pip3.13
lrwxrwxrwx. 1 root root        9 Oct 15 22:09 pydoc3 -> pydoc3.13
-rwxr-xr-x. 1 root root       85 Oct 15 22:08 pydoc3.13
lrwxrwxrwx. 1 root root       10 Oct 15 22:09 python3 -> python3.13
-rwxr-xr-x. 1 root root 29065592 Oct 15 22:08 python3.13
-rwxr-xr-x. 1 root root     3026 Oct 15 22:08 python3.13-config
lrwxrwxrwx. 1 root root       17 Oct 15 22:09 python3-config -> python3.13-config
[not_oles@radium ~]$
Note that the pip described in the warning as successfully installed was installed as pip3 and as pip3.13, but not as plain pip. For Python itself, similar to pip, pip3, and pip3.13, the above configure, make, make test, and make install procedure installed python3.13 and python3 as a symbolic link to python3.13, but not python. sqlite3 also is not installed.
On Fedora Rawhide, the complete clone, configure, make, make test, and make install Python procedure took 9 minutes and 51 seconds.
Part IV: Install nox From Source
nox is a requirement for installing pip from source. The pip development Getting Started page says to install nox inside a virtual environment. However, the nox Github readme.md says, "Nox is designed to be installed globally (not in a project virtual environment)." On Fedora Rawhide, both types of installs seem initially to work. Here is the global nox install.
[not_oles@radium ~]$ cd /usr/local/src
[not_oles@radium src]$ time sudo git clone https://github.com/wntrblm/nox.git
[not_oles@radium src]$ time sudo cd nox
[not_oles@radium nox]$ time sudo python3 -m pip install -e . # Note final posix dot.
Part V: Create, Activate, And Enter A Python Virtual Environment
[not_oles@radium ~]$ time python3 -m venv .venv
[not_oles@radium ~]$ source .venv/bin/activate
(.venv) [not_oles@radium ~]$ cd .venv
(.venv) [not_oles@radium .venv]$
Part VI: Install pip From Source In The Virtual Environment
# Reference:  https://pip.pypa.io/en/latest/development/getting-started/
(.venv) [not_oles@radium .venv]$ time git clone https://github.com/pypa/pip
(.venv) [not_oles@radium .venv]$ cd pip
(.venv) [not_oles@radium pip]$ time python3 -m pip install -e . # Note final posix dot.
Part VII: Install Django From Source In The Virtual Environment
# Reference: https://docs.djangoproject.com/en/4.2/topics/install/#installing-development-version
(.venv) [not_oles@radium .venv]$ time git clone https://github.com/django/django.git
(.venv) [not_oles@radium .venv]$ cd django/
(.venv) [not_oles@radium django]$ time python3 -m pip install -e .
Part VIII: How To Exit The Virtual Environment
(.venv) [not_oles@radium django]$ deactivate
[not_oles@radium django]$ cd
[not_oles@radium ~]$
Part IX: Test
- Normal Environment
[not_oles@radium ~]$ which python
/usr/bin/python
[not_oles@radium ~]$ /usr/bin/python -V
Python 3.12.0
[not_oles@radium ~]$ which python3
/usr/local/bin/python3
[not_oles@radium ~]$ /usr/local/bin/python3 -V
Python 3.13.0a1+
[not_oles@radium ~]$ which nox
/usr/local/bin/nox
[not_oles@radium ~]$ /usr/local/bin/nox --version
2023.4.22
[not_oles@radium ~]$ which pip
/usr/bin/pip
[not_oles@radium ~]$ /usr/bin/pip -V
pip 23.2.1 from /usr/lib/python3.12/site-packages/pip (python 3.12)
[not_oles@radium ~]$ which pip3
/usr/local/bin/pip3
[not_oles@radium ~]$ /usr/local/bin/pip3 -V
pip 23.2.1 from /usr/local/lib/python3.13/site-packages/pip (python 3.13
[not_oles@radium ~]$ which django-admin # PATH in global environment
/usr/bin/which: no django-admin in (/home/not_oles/.local/bin:/home/not_oles/bin:/usr/lib64/ccache:/usr/local/bin:/usr/bin:/usr/local/sbin:/usr/sbin)
[not_oles@radium ~]$ which sqlite
/usr/bin/which: no sqlite in (/home/not_oles/.local/bin:/home/not_oles/bin:/usr/lib64/ccache:/usr/local/bin:/usr/bin:/usr/local/sbin:/usr/sbin)
[not_oles@radium ~]$ which sqlite3
/usr/bin/sqlite3
[not_oles@radium ~]$ sqlite3 -version
3.43.1 2023-09-11 12:01:27 2d3a40c05c49e1a49264912b1a05bc2143ac0e7c3df588276ce80a4cbc9balt1 (64-bit)
[not_oles@radium ~]$ uname -r
6.6.0-0.rc5.20231013git10a6e5feccb8.44.fc40.x86_64
[not_oles@radium ~]$ cat /etc/fedora-release
Fedora release 40 (Rawhide)
[not_oles@radium ~]$
- Virtual Environment
(.venv) [not_oles@radium .venv]$ which python
~/.venv/bin/python
(.venv) [not_oles@radium .venv]$ python -V
Python 3.13.0a1+
(.venv) [not_oles@radium .venv]$ which python3
~/.venv/bin/python3
(.venv) [not_oles@radium .venv]$ python3 -V
Python 3.13.0a1+
(.venv) [not_oles@radium .venv]$ which nox
/usr/local/bin/nox
(.venv) [not_oles@radium .venv]$ nox --version
2023.4.22
(.venv) [not_oles@radium .venv]$ which pip
~/.venv/bin/pip
(.venv) [not_oles@radium .venv]$ pip --version
pip 24.0.dev0 from /home/not_oles/.venv/pip/src/pip (python 3.13)
(.venv) [not_oles@radium .venv]$ which pip3
~/.venv/bin/pip3
(.venv) [not_oles@radium .venv]$ pip3 --version
pip 24.0.dev0 from /home/not_oles/.venv/pip/src/pip (python 3.13)
(.venv) [not_oles@radium .venv]$ which django-admin
~/.venv/bin/django-admin
(.venv) [not_oles@radium .venv]$ django-admin --version
5.1.dev20231015082711
(.venv) [not_oles@radium .venv]$ which sqlite # Get PATH inside virtual environment :)
/usr/bin/which: no sqlite in (/home/not_oles/.venv/bin:/home/not_oles/.local/bin:/home/not_oles/bin:/usr/lib64/ccache:/usr/local/bin:/usr/bin:/usr/local/sbin:/usr/sbin)
(.venv) [not_oles@radium .venv]$ which sqlite3
/usr/bin/sqlite3
(.venv) [not_oles@radium .venv]$ sqlite3 -version
3.43.1 2023-09-11 12:01:27 2d3a40c05c49e1a49264912b1a05bc2143ac0e7c3df588276ce80a4cbc9balt1 (64-bit)
(.venv) [not_oles@radium .venv]$ uname -r
6.6.0-0.rc5.20231013git10a6e5feccb8.44.fc40.x86_64
(.venv) [not_oles@radium .venv]$ cat /etc/fedora-release
Fedora release 40 (Rawhide)
(.venv) [not_oles@radium .venv]$
- Web Server
We can launch a web server, and then our browser can see the Django default html index page shown in the screenshot above!
[not_oles@radium ~]$ cd .venv
[not_oles@radium .venv]$ source bin/activate
(.venv) [not_oles@radium .venv]$ time django-admin startproject mysite
(.venv) [not_oles@radium .venv]$ cd mysite/
(.venv) [not_oles@radium mysite]$ python3 manage.py runserver 127.0.0.1:42365
Time Summary
| Item | Time (minutes) |
|---|---|
| Install development tools | 8 |
| Clone, compile, test, and install CPython | 10 |
Clone and install nox |
0.2 |
| Create virtual environment | 0.1 |
| Clone and install pip | 0.2 |
| Clone and install Django | 0.5 |
| -------- | |
| Total | 19.0 |
Debian 12
Newly installed out of its netinstall.iso box, Debian 12 Linux seems to use /usr/local/lib for apt Python installations. In other words, /usr/local/lib comes with subdirectories /python3.11 and /python3.11/dist-packages preinstalled.
Moreover, Debian valiantly guards /usr/local. The above CPython "configure, compile, test, install" command sequence does not install any pip. Also, on Debian 12, the above nox install command failed. There was a helpful error message, which explained, "This environment" [that is, I guess, global /usr/local] "is externally managed. . . ."
Discussion
- What are the advantages and disadvantages of installing
noxglobally versus installingnoxinside a virtual environment? - Is using
pythonfor the packaged install andpython3for the compiled install a good idea? - Should we do something like
sudo ln -s /usr/local/bin/python3.13 /usr/local/bin/python? - CPython has a helpful Setup and Building Guide. In addition to configuring and compiling,
git, dependencies, several operating systems, and troubleshooting also are discussed. The Guide says, "There is normally no need to install your built copy of Python! The interpreter will realize where it is being run from and thus use the files found in the working copy." - I need to study up on the cpython configure options, including
--with-pydebugand--enable-optimizations. - The Cpython
test_dtraceformerly succeeded on Rawhide, but it has failed since about the time earlier this month when Python 3.12 was released. There is an old bug report from 2019 which has similar log messages. Configuring Cpython with--with-dtracedid not help.
Comments
Very detailed write up - nice work Tom!
The Ultimate Speedtest Script | Get Instant Alerts on new LES/LET deals | Cheap VPS Deals | VirMach Flash Sales Notifier
FREE KVM VPS - FreeVPS.org | FREE LXC VPS - MicroLXC
And the by-the-forum-rules-extremely-strictly-obligatory music (almost forgot to add that):")
Thank you for the time and effort you took to write this "D"_is_silent tutorial!")
🔧 BikeGremlin guides & resources